Discover the best place to install Starlink for optimal performance. Learn about location tips, positioning your dish, and factors like obstructions and elevation to ensure the strongest satellite internet connection.
Above The Roof
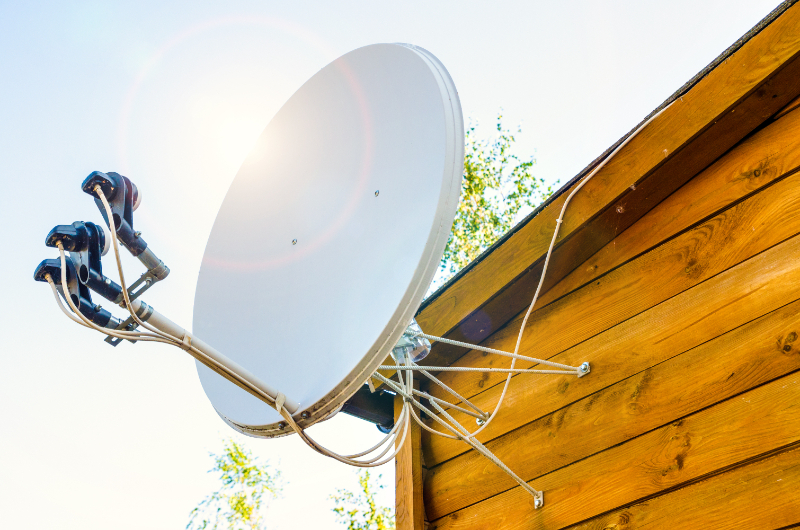
When considering the best place to install a Starlink satellite dish, placing it on top of a roof is the main choice. There are several reasons why the roof is an ideal location for this installation. Firstly, positioning the dish on the roof ensures it has a clear, unobstructed view of the sky. This unobstructed view is critical for maintaining a reliable and high-speed internet connection.
By placing the dish on the roof, you effectively minimise obstructions that could interfere with the signal. This line of sight is essential to achieve the best performance from Starlink. In addition, installing the dish on the roof simplifies cable management. Moreover, mounting the Starlink dish on the roof can be straightforward, thanks to the mounts included in the Starlink kit. These kits are designed to make the installation process as seamless as possible.
It's crucial to ensure that the dish is securely mounted and that all the cables are properly connected for the best performance. This careful installation maintains a consistent signal and prevents potential disruptions. Placing the Starlink satellite dish on top of the roof is highly recommended for optimal signal strength, easier cable management, and a straightforward installation process.
Which Direction Should The Starlink Dish Point?
Starlink is a satellite internet constellation operated by SpaceX. It aims to provide high-speed internet as well as improve the internet in more populated areas.
By launching thousands of small satellites into low orbit, Starlink creates a network that beams down an internet signal directly to users' satellite dishes on the ground. The direction the Starlink dish points is a crucial factor in the quality of your internet connection.
For users in the Northern Hemisphere, including Britain, the dish should be angled north. The dish might need to be positioned at an angle of around 15 to 35 degrees above the horizon.
This can be fine-tuned using the Starlink app, which helps users adjust the dish to the right position. In the Southern Hemisphere, the positioning will vary. Users generally need to angle their dish southwards to catch the best signal.
The initial setup can be done in just minutes, using the Starlink app to guide the adjustments. It’s essential to check the app regularly to ensure that the dish remains in the best position. An unobstructed view of the sky ensures the satellite can keep a steady connection.
Users should regularly inspect the dish to ensure that nothing has blocked the line of sight to the satellites. Using the app, users can perform regular checks to ensure the dish is in its optimal position. The app provides real-time data and guidance to fine-tune the dish’s angle, making it easier to achieve the best connectivity.
Correctly setting up and maintaining the direction of the Starlink satellite dish is essential for achieving the best internet. Whether you're in the Northern or Southern Hemisphere, using the Starlink app ensures your dish is always in the best position. An unobstructed, correctly angled dish can greatly enhance your online experience.

Place The Dish In An Unobstructed Area
When deciding where to place your Starlink satellite dish, one area to consider is an unobstructed area. The Starlink system requires a clear view of the sky, free from any interference caused by buildings, trees or other structures.
Even small obstructions can lead to reduced internet speeds or an interrupted service. The Starlink app includes a built-in tool that helps users find the most suitable location. This tool is extremely helpful in ensuring the dish is correctly positioned.
To avoid issues with obstructions, it's best to install the dish in a high place. Elevated positions such as rooftops are often ideal as they provide a wide, clear view of the sky. Moreover, a clear line of sight is essential for maintaining a stable connection.
The satellite dish needs to communicate with satellites orbiting the Earth, and any barrier between the dish and the satellite can disrupt this communication. Therefore, ensuring the dish has an unobstructed view is crucial. Placing your Starlink dish in an unobstructed area is vital to get the best performance.
An Open Field
When deciding where to put a Starlink satellite dish, placing it in an open field can be an excellent choice. Open fields offer a vast, unobstructed view of the sky, which is crucial for maintaining a strong internet connection. By placing the dish in an open field, you can eliminate potential interference from buildings, trees, or other structures.
However, you will need to consider the logistics of running power and data cables to the dish’s location. Sometimes, this might require additional setups or longer cables to connect the dish to your property. Ensuring the dish is adequately protected from the weather is also important, as these elements could affect its stability.
For an optimal experience, carefully choose the dish's location. Ensure there is an unobstructed view and avoid placing the dish in areas with tall trees. Moreover, consider the long-term maintenance of the dish. Regularly check the dish for any signs of wear or damage caused by the elements. By doing this, you can ensure a consistent and reliable internet connection.

Starlink Dishes Can Be Mounted On Top Of Tall Poles
One of the main advantages of using tall poles is that they help in reducing signal interference. A clear line of sight to the sky is essential for Starlink to function at its best.
The Starlink system includes sturdy mounting kits designed to attach the dish to tall poles. These kits simplify the installation process by providing all the necessary hardware and instructions. Ensuring the pole is firm in the ground is crucial for maintaining stability, especially during strong winds or heavy rain.
Running power and data cables from the dish to your property requires some planning. It's important to use durable cables and to secure them properly to avoid damage or signal loss. Weather-resistant materials should be used to protect the cables and dish from external elements. This precaution can help maintain a reliable connection and prolong the lifespan of your equipment.
When installing the pole, consider its height and the surrounding environment. The pole should be tall enough to clear any nearby obstacles but not so high that it becomes unstable. A height of 3 to 5 metres is generally considered adequate for most locations.
Weather can cause damage over time, so regular maintenance can help keep the Starlink dish working. Tighten any loose fittings, replace worn-out cables, and check for rust or other damage to the pole. In some cases, local regulations may dictate specific requirements for mounting satellite dishes.
Mounting Starlink satellite dishes on top of tall poles offers several benefits. It ensures a clear view of the sky, reduces interference, and provides a stable connection. By using the proper equipment and adhering to local regulations, you can enjoy a fast and dependable internet connection.
Discover unparalleled Starlink Installations. Fair City Aerial & Digital TV Services offer Starlink Installations throughout Perth, Perthshire and Tayside.


